


An attractive, highly disease-resistant apple, ideal for organic growers.
How to Summer Bud a Tree: T-Buds and Chip-Buds
Follow this checklist. After reading our instructions, watch this video so that you better understand the cuts made during T-budding, and this video to see chip-budding in action.
- Make sure you have a sharp knife. The best on the market is the Tina Budding Knife. This is a different style knife from the one that is used for grafting.
- For T-budding, make a T-shaped incision in the rootstock, 6-8" above the ground. This incision should be very shallow, just enough to break through the cambium. The vertical cut should be about 1" long, and the horizontal cut about a ½" across.
Chip budding is an identical process to T-budding, except for the initial incision. Instead of a T-shaped cut, make a cut that is custom-shaped to the bud that you have removed. After this, follow the steps for T-budding. That’s it!
- Cut a bud out from the budwood. The section you remove should start about ½" above the bud and finish about a ½" below it, so that it is roughly 1" long in its entirety. The totality of the width of the bud should be included. The depth of the section should be about 3-4 millimeters.
- Slide the bud down into the T-shaped incision.
- Seal the bud with either parafilm or a budding rubber. In a pinch you can use clingfilm, but this material does not break down and you will need to remember to remove it in about 4 weeks. Failure to do so might revent bud growth.
- Keep the weeds, bugs, and deer away and keep the plant watered. These trees need no other special attention for the next nine months.
- Top your trees in the spring. Check that the bud took; it will be swollen and healthy, possibly showing green growth. If it failed, it will be dry and dessicated. If it took, make a single horizontal cut just above the “bud shield” (the area where you made the initial T-shaped cut).
- Stake the tree when it is about a foot tall. A single bamboo or fiberglass stake will work. Fix the tree to this with a tree band or any soft, flexible material that will not cut into the tree.
- Sucker your buds. As your trees grow, rub out any shoots that grow from the rootstock. The tree is still very fragile, so be careful.
- Select your central leader (trunk). Typically, there will be anywhere from 1-3 shoots that emerge from your scion. When they are about 3 inches long, select the strongest to become your tree. Leave the other two but pinch the growing tips. These are insurance policies. After the selected strong one is about a foot tall, it is safe to remove the insurance shoots. All of the energy is now being directed to the terminal tip of the scion shoot.
- Select a central leader. If more than one vertical shoot grows, choose the stronger one and remove the weaker.
- Side-limb. As side shoots try to grow from the central leader below knee height, remove them. They will be too low to form branches and will divert growth away from the central leader. The way to remove one of these is to rock it gently back and forth until it falls from its socket between the central leader and the leaf node below it.
Visit your plants regularly. A nursery is just what its name implies. Your plants thrive with attention!
Featured Products
A few things we're loving right now...
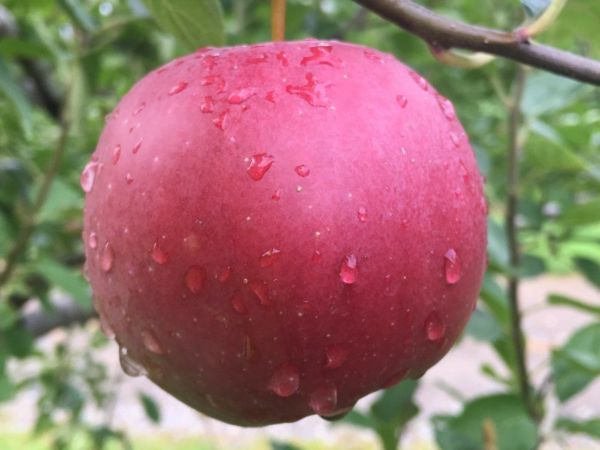
Enterprise Apple on G.890
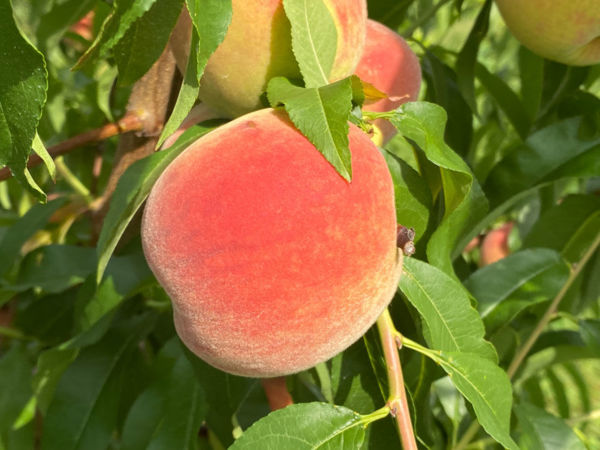
Carolina Belle Peach on BY520-9. Nematode Resistant Peach/nectarine
A full-flavored, freestone white peach.
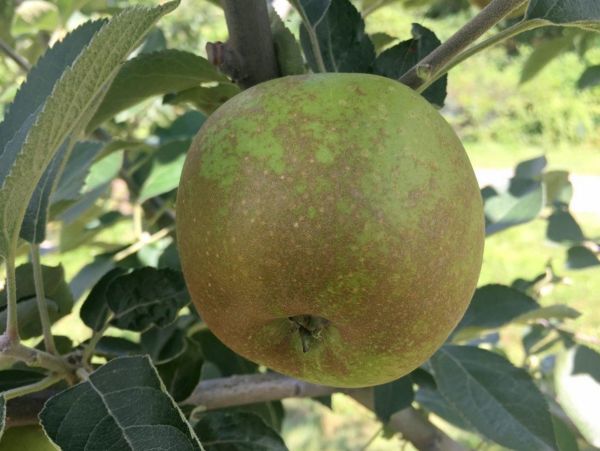
Roxbury Russet Apple on G.935
One of America's oldest apples, good for storage, baking, and cider.
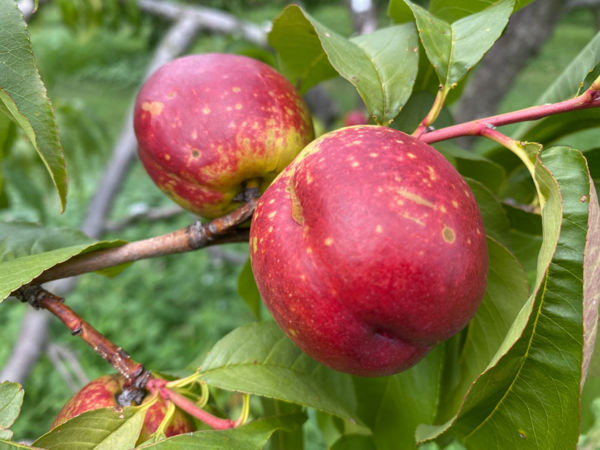
Fantasia Nectarine on BY520-9. Nematode Resistant Peach/nectarine
A widely-grown, large, yellow-fleshed nectarine.