


An attractive, highly disease-resistant apple, ideal for organic growers.
How to Bench Graft Fruit Trees
Remember, grafting is like a soufflé. Skip a step, and it's a flop. After you read our instructions, watch this video so that you better understand the cuts made during whip and tongue grafting.
- Make sure you have a sharp knife. The best on the market is the Tina Grafting Knife.
- Cut your wood and scion. We recommend whip and tongue grafting. On both scion and rootstock, make an 1.5" angular cut, about 60°. Make these cuts in such a way that when the two surfaces are laid together, the buds on the scion are facing upward, as they would be when growing naturally. Next, make the “back cut” on each piece of wood. This means cutting 1.5" into each stick, lengthwise straight down the line of the wood, starting about ⅔ of the way up the newly exposed wood from your first cut.
- Lock the two pieces of wood together. The side view of the two locked pieces will look like a reversed N. Don’t jam them together too forcefully. You will snap the wood.
- If you cannot match the scion to the rootstock then match one side. Do not split the difference. A one-sided graft works just fine.
- Seal and compress the graft.You have several options. Ideally you would use budding rubbers or parafilm. In a pinch you can use electrical tape or clingfilm, but these materials do not break down and you will need to remember to remove them by July 4th.
- Cut the scion and seal the tip. Cut the grafted scion back. Leave 1-3 buds above the graft union. For sealing, we use a mix of paraffin and beeswax as our sealer. We don't use pure beeswax because the grafts stick together, and we don't use pure paraffin because it is too hard and the bud won't push through. A ready-made wax substance is also available. Dip the top 1 inch of scion into the wax. This keeps it from drying out during the callousing process. A double boiler is the way to keep the wax blend from getting too hot. A coffee can within a larger coffee can works great. Alternatively, you could use an old crock pot. The temperature is perfect in a crock pot set to low.
- Heel in the grafts into a moist medium. Potting soil in a well-draining container such as a wooden crate or plant pot is the best medium. Keep the soil moist.
- Grafts need at least two weeks to callous before planting. They can be stored for up to 12 weeks. A 45ºF room for 6 weeks works well. If the buds on your scion start to show any green at all and it is still too early to plant outside, then put them in a fridge which contains no fruit or vegetables to slow them down.
- Grafting is done between January and mid April with a targeted planting date of May 15-20. This gives the grafts enough time to form a callous before planting. Be sure to plant after the threat of hard frost is past.
- Acclimate your grafts. Set them outside in the shade for a few days before planting. The ideal time for planting a graft is when it is just showing signs of green tip and has been hardened off for a few days. Plant on a cloudy day. (Planting in the rain is great for small jobs.)
- Planting in ground vs. planting in pots vs. planting in permanent location.
- Planting in the ground in a garden situation is best, 1' apart in well-prepared soil. Keep the weeds out and keep them watered. Mulch helps. Basically, treat them like tomato plants.
- Planting in pots works, but is more work. Use a 3-5 gallon pot in nice potting soil. Pots heat up in the summer and roots do not like to be hot, so cover the pots in a pile of bark chips or similar material. You will need to to ask a friend to water them when you go away for a week! This is why the ground is better.
- Planting in what will be their permanent location works only if you are willing to take care of them. It's a lot easier to protect 20 trees in a single row than it is to take care of them in scattered locations because of deer, water, weeds, etc. Dig them in the fall or spring after they have lost their leaves and then transplant them to their permanent locations.
- Put up tomato stakes for birds to land on. A black bird will always pick the highest point to perch on. If a graft is the highest point in your nursery, it will perch on your graft and snap it off. It will then move on to the next and the next and so on. Goodbye grafts!
- Keep the weeds out, and water regularly.
- Keep the bugs out! Tarnished plant bugs and leaf hoppers inject poison into the growing tip and may set your young graft back by several weeks.
- Sucker your grafts. As your grafts grow, rub off any shoots that grow from the rootstock. The graft is still very fragile, so be careful.
- Side-limb. As side shoots try to grow from the central leader below knee height, remove them. They will be too low to form branches and will divert growth away from the central leader. The way to remove one of these is to rock it gently back and forth until it falls from its socket between the central leader and the leaf node below it.
- Visit your plants regularly. A nursery is just what its name implies. Your plants thrive with attention, and the sooner you spot any problems, the easier it will be to deal with them.
Good Luck! If it doesn't work the first time, keep on trying. You can always chip bud your failed grafts in August.
Featured Products
A few things we're loving right now...
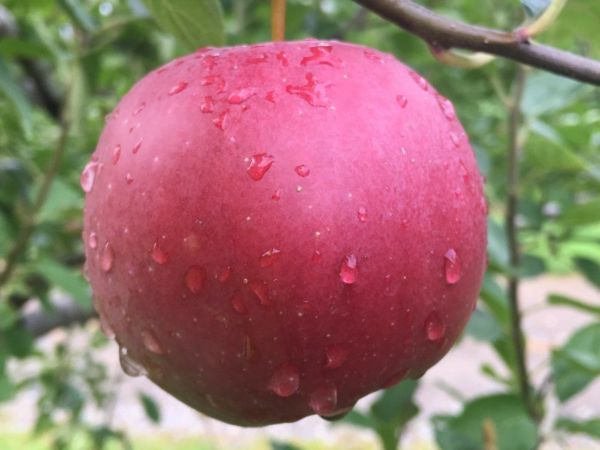
Enterprise Apple on G.890
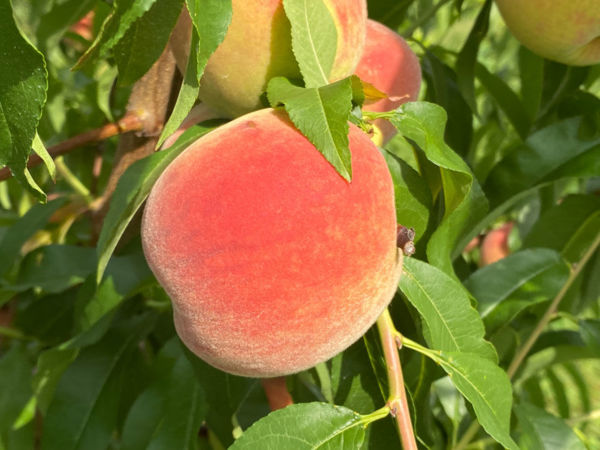
Carolina Belle Peach on BY520-9. Nematode Resistant Peach/nectarine
A full-flavored, freestone white peach.
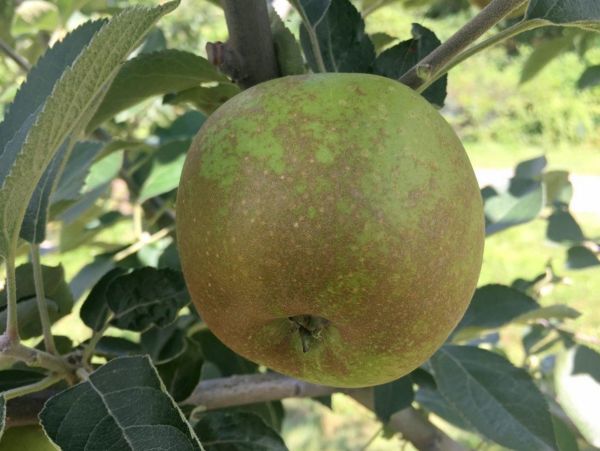
Roxbury Russet Apple on G.935
One of America's oldest apples, good for storage, baking, and cider.
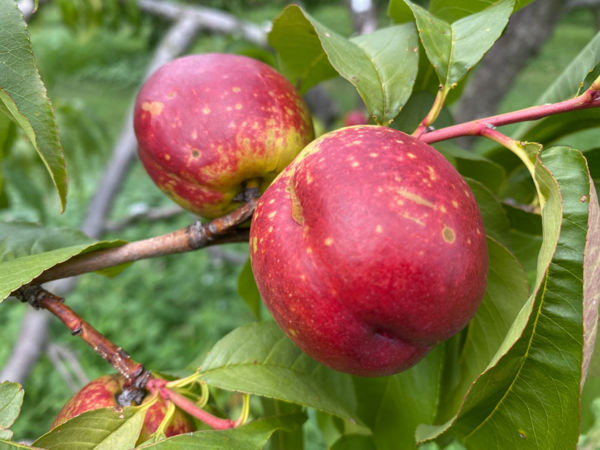
Fantasia Nectarine on BY520-9. Nematode Resistant Peach/nectarine
A widely-grown, large, yellow-fleshed nectarine.